
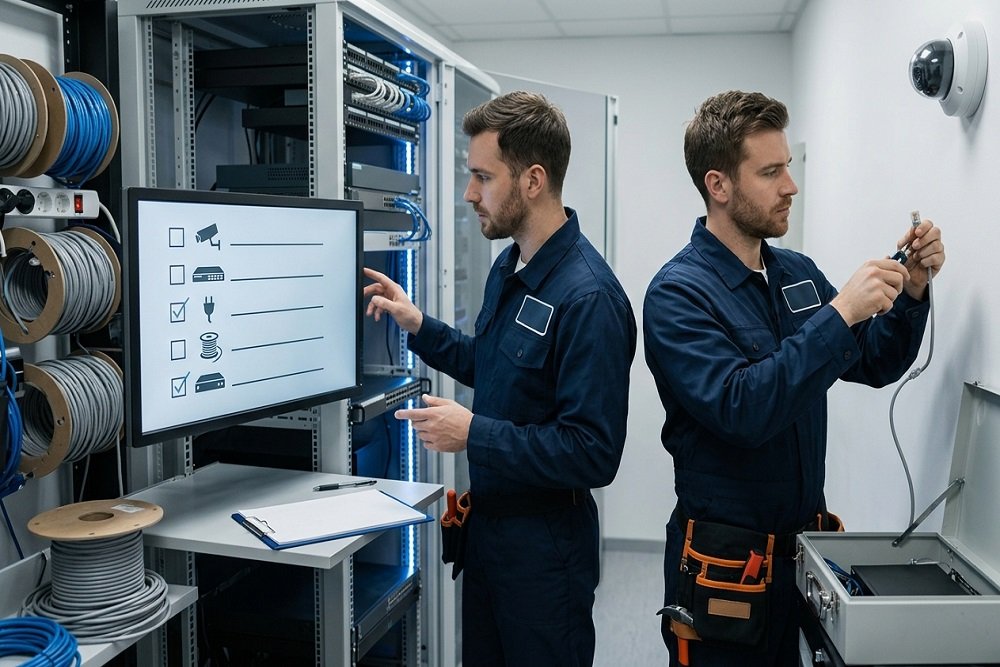
CCTV Installation Checklist: Essential Steps for Better Security
Slapping a few cameras on your walls might give you a quick sense of safety. But honestly? If not placed and aligned properly, then such devices might as well be a screen door on a submarine as far as utility is concerned.
Users spend a fortune on first-class gear, and only after an attempted burglary, they realise that their camera has been pointed at the outside wall. Or maybe the lens was completely blinded by the morning sun. If you're tackling a CCTV installation in Geelong, or anywhere else across Australia, having a proper game plan is non-negotiable. A dodgy setup turns an expensive security investment into a massive vulnerability.
Lay down any doubts. Here is all the help you need - a ready-made plan to do it once and for all.
Step 1: The Walk around & Gear Check
Have paper and pen at hand, and do not even get to the point of examining the drill. Move around your entire land plot.
You have to actively hunt down the weak spots before a criminal does. Where are your vulnerable entryways, dark side gates, or high-value assets? Do you have large glass doors that suffer from heavy sun glare during the afternoon? What about the lighting situations at night? Assessing these specific environmental factors and doing a proper, thorough site survey upfront saves you from a massive financial headache down the track. Once you know exactly what you are dealing with, it is time to choose your gear.
Then comes the great debate: wired vs wireless CCTV. Let me make this incredibly easy for you. If you want a system that records continuously without dropping out every time the neighbour microwaves their dinner, go wired. Wired IP systems funnel both your power and high-def video through one single Ethernet cable.
Step 2: Nailing the Placement
Where you stick these cameras matters just as much as the tech itself.
The absolute sweet spot for mounting height? Between 2.5 and 4 metres (roughly 8 to 10 feet). Any lower, and some cheeky vandal has Buckley's chance of leaving it alone. Mount them any higher than 15 feet, though, and you’ll just be recording the tops of people's hats. Useless.
Angle them downward at about 15 to 30 degrees. This capture faces naturally and stops sun glare from washing out the shot. Also, make sure your camera views overlap by 10 to 20 per cent. If a savvy intruder dodges one lens, the next one will catch them dead to rights.
Step 3: Sorting the Network & Physical Wiring
High-def video chews through internet bandwidth. If you don't want your security system turning your daily office web browsing or home Netflix streaming into a dog's breakfast, put your camera traffic on a dedicated Virtual Local Area Network (VLAN).
Physically, you need to run all exposed wiring through weather-resistant conduits and seal the junction boxes with silicone. This keeps the wild Aussie weather out.
This stage is also the perfect time to look into AI security cameras. These clever units actually process analytics on the edge, distinguishing between a human prowler and a stray cat chasing a leaf. The result? You won't get bombarded with annoying false alarm notifications at 3 AM.
Step 4: Software, Security, and Remote Viewing
We all love checking our cameras from the pub. But you have to lock that access down tightly.
Never use outdated "port forwarding" to view your feeds. It is a kind of digital invitation for hackers to get inside your network and see what you are up to. It would be better for you to switch to modern-day P2P (Peer-to-Peer) clouds. The latter enables a safe and encrypted handshake between your mobile device and the recorder.
Switch on Multi-Factor Authentication (MFA) immediately so nobody can steal your login credentials. And here is a pro tip: set your mobile app to run on a lower-resolution "sub-stream". If you're checking in on a patchy 4G connection, this stops the footage from constantly buffering.
Step 5: Keeping it Legal
You can't just film whatever you please.
Your surveillance needs to be a proportionate response to a genuine risk. Don't point cameras into areas where people expect a high degree of privacy, like staff break rooms or straight over the neighbour's back fence.
Stick up clear signs at your entrances to let folks know CCTV is running. And be strict with your data retention. For most business and home setups, holding onto footage for 30 days is plenty.
Step 6: Maintenance (Don't Set and Forget)
You aren't finished just because the recording lights are blinking.
Do a nighttime test to check the infrared coverage and identify any dark spots. Then, chuck a quarterly reminder in your calendar for maintenance. Get up there and wipe down the lenses to clear away dust and spiderwebs that cause awful IR glare at night. Most importantly, check your hard drive's health every month. Finding out your drive died three months ago on the exact day you actually get robbed is a nightmare you want to avoid.
Final Thoughts:
Getting this right is a wise move from a time point of view. A quick, poorly done job may let you keep some money for today, but it will come back to haunt you with a much bigger price tag in the future. If you follow this list, you will have a top-quality monitoring system. By the way, if dealing with setting up network switches or getting through a brick wall feels like too much physical work, then there is absolutely no stigma connected to hiring a professional who will handle these tasks perfectly for you.



0 Comments