Understanding Tile Polishing Pads: An Essential Guide
Have you ever looked at your tile floors and wondered why they've lost that gorgeous shine they once had? Are you curious about how professionals achieve such stunning, mirror-like finishes on stone and ceramic surfaces? Perhaps you've heard about diamond polishing pads but aren't quite sure where to start?
You're definitely not alone. Whether you're tackling a DIY renovation project or simply wanting to breathe new life into tired-looking tiles, understanding the right tools makes all the difference. Diamond polishing pads have become the go-to choose for both professionals and home enthusiasts across Australia, and for good reason. These remarkable tools can transform dull, scratched surfaces into showroom-worthy floors without breaking the bank.
In this guide, we'll walk you through everything you need to know about tile polishing pads. From understanding the different types available to mastering the techniques that deliver professional results, we've got you covered. You'll learn about grit levels, wet versus dry polishing methods, and how to choose the perfect pad for your specific tile material. Plus, we'll share some insider tips on maintaining your equipment, so it lasts for years to come. Let's get stuck into it!
Types of Diamond Polishing Pads Explained
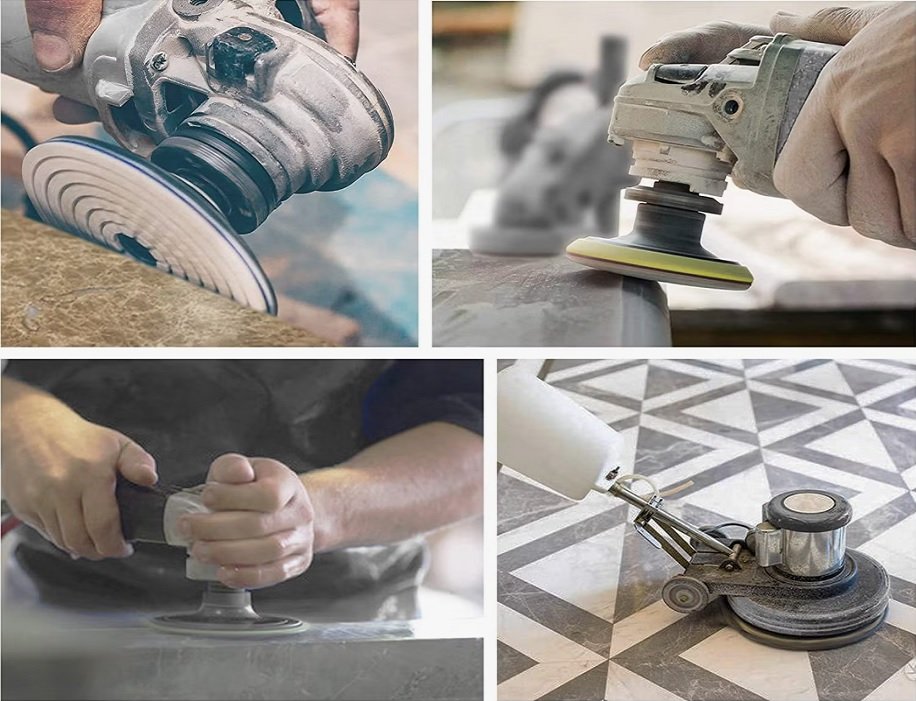
When it comes to polishing floor tiles, diamond polishing pads stand out as the gold standard. These pads contain tiny diamond particles embedded in a resin or metal matrix, making them incredibly effective at grinding, smoothing, and polishing hard surfaces. The diamond content is what gives these tools their superior cutting and polishing capabilities compared to traditional abrasives.
Diamond Sanding Pads vs Diamond Polish Pads: What's the Difference?
Here's where things get interesting. Diamond sanding pads are designed for the initial stages of surface preparation. They're more aggressive and work to remove scratches, stains, and imperfections from your tiles. Think of them as the heavy lifters in your polishing toolkit.
Diamond polish pads, on the other hand, come into play during the final stages. They're finer and designed to create that beautiful, glossy finish we all love. Using them in sequence—starting with sanding pads and finishing with polish pads—gives you the best results.
Flexible Diamond Sanding Pads: When and Why to Use Them
Flexible diamond sanding pads are brilliant for working on curved surfaces or edges where rigid pads simply won't do. Their bendable backing allows them to conform to various shapes, making them perfect for detailed work around corners, bullnose edges, and contoured surfaces. They're also gentler on your hands during extended use.
Diamond Sanding Sponge: A Versatile Option
A diamond sanding sponge is your best mate for those tricky spots. These handheld tools combine the cutting power of diamond abrasives with the flexibility of a sponge. They're ideal for hand polishing small areas, touching up edges, and reaching places your power tools can't access.
Polishing Floor Tiles: A Step-by-Step Guide
Ready to polish tile floor surfaces like a pro? Here's your roadmap to success.
Preparing Your Tiles for Polishing
Before you begin, thoroughly clean your tiles to remove dirt, grease, and debris. Any particles left behind can cause scratches during polishing. Inspect for cracks or damage that might need repair first. Tape off adjacent surfaces and ensure adequate ventilation in your workspace.
How to Polish Tile Floor Surfaces Like a Professional
Start with your lowest grit pad to address any scratches or dullness. Work in small sections, keeping the pad flat against the surface. Move in overlapping circular motions, maintaining consistent pressure. Progress through each grit level, cleaning between stages. Finally, use your highest grit diamond polish pad for that showroom shine.
Common Mistakes to Avoid
Don't rush through grit levels—patience is key. Avoid applying excessive pressure, which can damage both tiles and pads. Never let your pads overheat during dry polishing. And always test on an inconspicuous area first, especially with natural stone tiles.
Choosing the Right Diamond Pads for Your Project
Selecting the correct diamond pads can feel overwhelming, but it doesn't have to be.
What Grit Diamond Polishing Pad Should I Use?
For general restoration of dull tiles, start around 400 grits. For removing scratches or etching, begin with 200 grit or lower. If your tiles just need a quick refresh, 800 grits might be your starting point. Always finish with 3000 grit or higher for maximum shine.
Can You Use Diamond Pads on All Tile Types?
While diamond pads work on most hard tiles, some surfaces require special consideration. Soft stones like limestone need extra care. Glazed ceramic tiles may not respond well to aggressive polishing. When in doubt, consult a professional or test in a hidden area.
Using a Diamond Blade on Circular Saw for Tile Work
Sometimes polishing goes hand-in-hand with cutting, especially during renovations.
When to Use a Diamond Blade on Circular Saw
A diamond blade on circular saw setup proves invaluable when you need to cut tiles to size before polishing. It's particularly useful for straight cuts on larger format tiles or when cutting multiple pieces quickly. Just ensure your circular saw is compatible with wet cutting if you're working indoors.
Safety Considerations for Cutting and Polishing Tiles
Always wear safety goggles, ear protection, and a dust mask. Use gloves when handling cut tiles, as edges can be sharp. Ensure proper electrical safety when using wet polishing methods near power tools. Keep your workspace tidy to prevent trips and falls.
Combining Cutting and Polishing for Seamless Results
After cutting tiles with your diamond blade, the edges often need attention. Use your diamond sanding sponge or flexible diamond sanding pads to smooth cut edges before installation. This creates a professional finish that looks intentional rather than DIY.
Maintaining Your Diamond Pads for Longevity
Cleaning and Storage Best Practices
Rinse pads thoroughly after each use to remove debris. Store them flat in a dry location, away from direct sunlight. Never stack pads without protective dividers, as this can damage the diamond surface.
Signs It's Time to Replace Your Pads
Watch for reduced cutting efficiency, visible wear patterns, or uneven polishing results. If you notice dark spots or glazing on the pad surface, it's time for a replacement.
Achieving Professional Results at Home
So there you have it—your complete guide to understanding and using tile polishing pads effectively. We've covered the different types of diamond pads available, from aggressive diamond sanding pads to versatile diamond sanding sponges and explained how each serves a specific purpose in the polishing process.
The key takeaway? Success with diamond pad polishing comes down to choosing the right tools, working through grit levels methodically, and maintaining your equipment properly. Whether you're restoring a single room or tackling your entire home, these techniques will serve you well.
Don't be intimidated by the process. With quality diamond polishing pads and a bit of patience, you can absolutely achieve professional-looking results without hiring a contractor. Start with a small area, build your confidence, and before you know it, you'll have gleaming floors that'll make your neighbours jealous. Happy polishing!


0 Comments